invideo MCP: Ever wished your AI assistant could just… edit your videos for you? Well, good news! With invideo MCP, that dream is now a reality. This game-changing technology lets you connect your favorite AI agents like ChatGPT, Claude, or even VS Code directly to invideo's powerful video editor. Imagine typing a simple command and watching your video timeline magically adjust, color correct, or even generate missing shots. It's like having a super-smart video editor at your beck and call, all through natural language. 🤯
This guide will walk you through exactly what invideo MCP is, how to connect it to your preferred AI assistant, and the exact prompts you can use to start editing real video timelines today. You'll learn to make base cuts, fill gaps with AI-generated media, refine your edits, and export professional projects for Premiere Pro, Final Cut Pro, or DaVinci Resolve. Ready to make your AI agent your new video production partner? Let's dive in!
Advertisement
What is invideo MCP, Really? 🤔
MCP stands for Model Context Protocol. Think of it as a universal translator that lets your AI assistant talk to and control outside tools. invideo MCP is a special remote MCP server that gives your AI agent direct access to a professional video timeline within invideo's editor. This isn't just about generating scripts; it's about hands-on editing.
Once connected, your AI agent gains superpowers: it can trim clips, add titles, apply transitions, adjust colors, mix audio, import media, and even generate new images, video, and audio clips. The coolest part? You and your agent can work on the same project simultaneously. When you're done, you can export a fully rendered video or an editable project file for your favorite professional NLE (Non-Linear Editor) like Premiere Pro. It's all about bringing your own agent into the edit, making complex video tasks accessible to everyone.
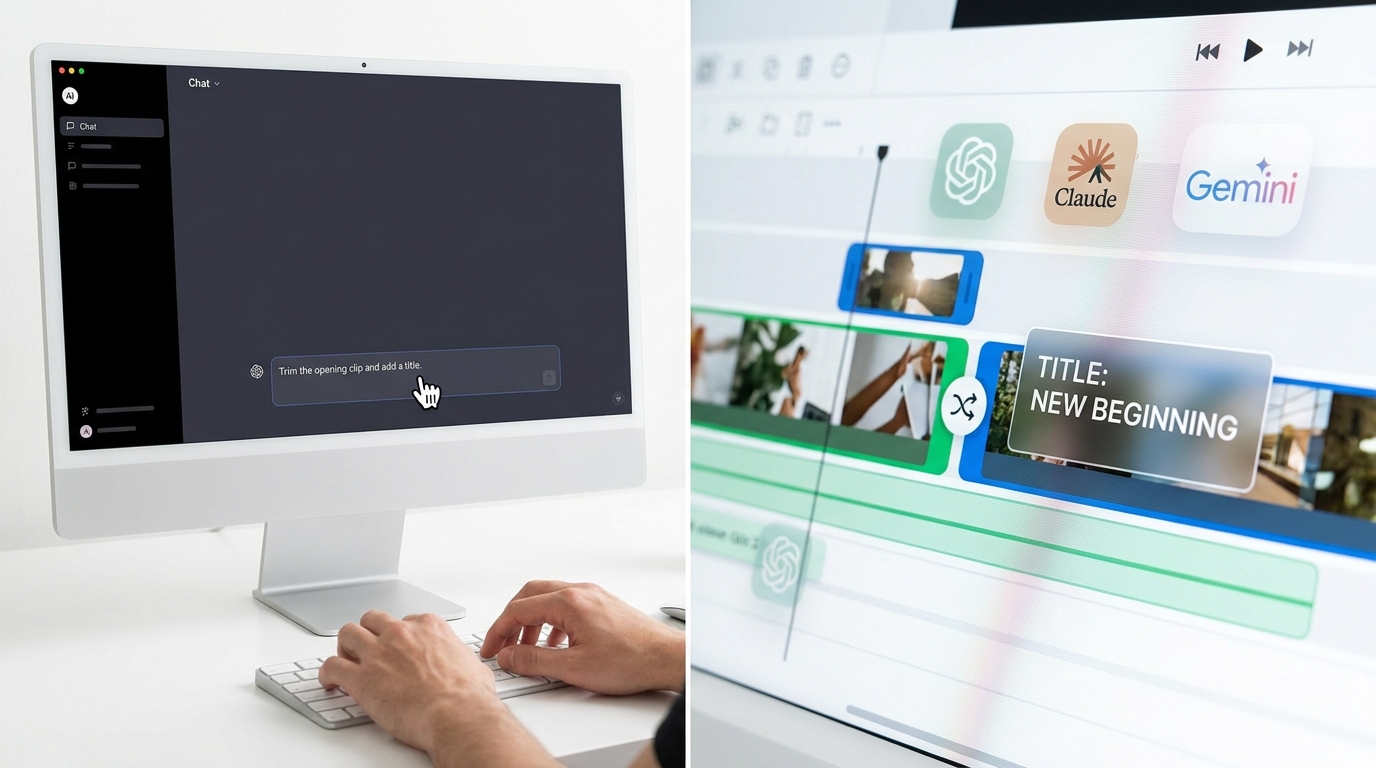
Your words, your AI, your video. invideo MCP makes it happen.
Connecting invideo MCP to Claude (Web or Desktop) 🤝
Getting Claude to work with invideo MCP is straightforward. You'll use Claude's built-in 'Connectors' feature to add invideo as a custom tool. This process securely links your Claude account to invideo's editing capabilities.
Here's how to do it:
1. In Claude, navigate to Customize, then select Connectors.
2. Click the + button and choose Add custom connector.
3. Fill in the name (e.g., 'invideo') and use the server URL: https://mcp.invideo.io/mcp. Save your changes.
4. Claude will then prompt you to sign in with your invideo account. Complete the sign-in process.
Once connected, 'invideo' will appear in your list of connectors. Remember to turn it on in any chat where you want Claude to help you edit videos!
Connecting invideo MCP to ChatGPT 💬
For ChatGPT users, the process involves adding invideo as a custom MCP server. This unlocks a powerful integration, turning your ChatGPT interface into a video control panel. Make sure you're using the correct URL for ChatGPT integration.
Follow these steps:
1. On ChatGPT web, go to chatgpt.com/plugins. Select the plus button.
2. Choose Add custom MCP server. Name it 'invideo' and enter the URL: https://mcp-v2.invideo.io/mcp using the remote HTTP connection option.
3. Configure the authentication as offered by the service, review the access warning, and create the plugin. Then, install it from your personal plugins list.
4. Open a new chat and select the newly installed invideo plugin. Complete the invideo sign-in when its tools request your account.
Important: If you don't see the setup controls, or if your account requires it, enable Developer mode in ChatGPT's Settings → Security and login. If you're in a workspace, you might need to ask your administrator for access. Not all paid plans expose these controls by default, so verify your account's eligibility if you encounter issues.
Connecting to Code Editors & CLIs 💻
Developers and power users can integrate invideo MCP directly into their coding environments. This means you can control video edits using code or command-line prompts, blending creative work with your development workflow. Here's how to set it up for various platforms:
🟦 Claude Code, Codex, or Gemini CLI
You only need to run the command for your specific terminal client. Do not configure all three.
- Claude Code: Add the server, restart your session, open
/mcp, and authenticate invideo. - Codex: Add the server, then run
codex mcp login invideoif account authentication is needed. Complete the browser sign-in and start a new session to load the tools. Check/mcpfor connection status. - Gemini CLI: Add the server, then run
/mcp auth invideowhen authentication is requested.
These commands configure a remote service. Always review the requested account access before authorizing it.
🟥 Cursor or VS Code
Integrating with these IDEs allows for powerful, scriptable video editing.
- Cursor: Merge the invideo entry into your
~/.cursor/mcp.jsonfile. Make sure to keep any existingmcpServersentries; do not replace your entire configuration. Then, complete the invideo sign-in when requested. - VS Code: Run the command
code --add-mcpin your terminal and complete the connection in your MCP tools panel.
Be careful not to paste both a JSON configuration and a shell command into a single JSON file. The example provided in the original brief is labeled as text because it contains both, but you should use them in their respective contexts.
Making Your First Base Cut by Chatting 🎬
Now for the fun part! Once connected, you can simply talk to your AI agent to start editing. It's like having a conversation with a professional editor. Begin by providing your footage and clear instructions.
Start by sharing a folder of clips (e.g., from Google Drive) and ask your agent for a first cut. Be specific about the desired length, format, and any content you want removed. Your agent will then build the edit on a real invideo timeline that you can open and adjust directly.
Crucial Tip: Only share footage you are legally allowed to upload to invideo. Ensure the folder you provide is actually accessible by the service; a local file path or an inaccessible Drive URL won't work. Always ask your agent for the project link and verify that all media has been imported correctly and the timeline looks as expected before moving on.
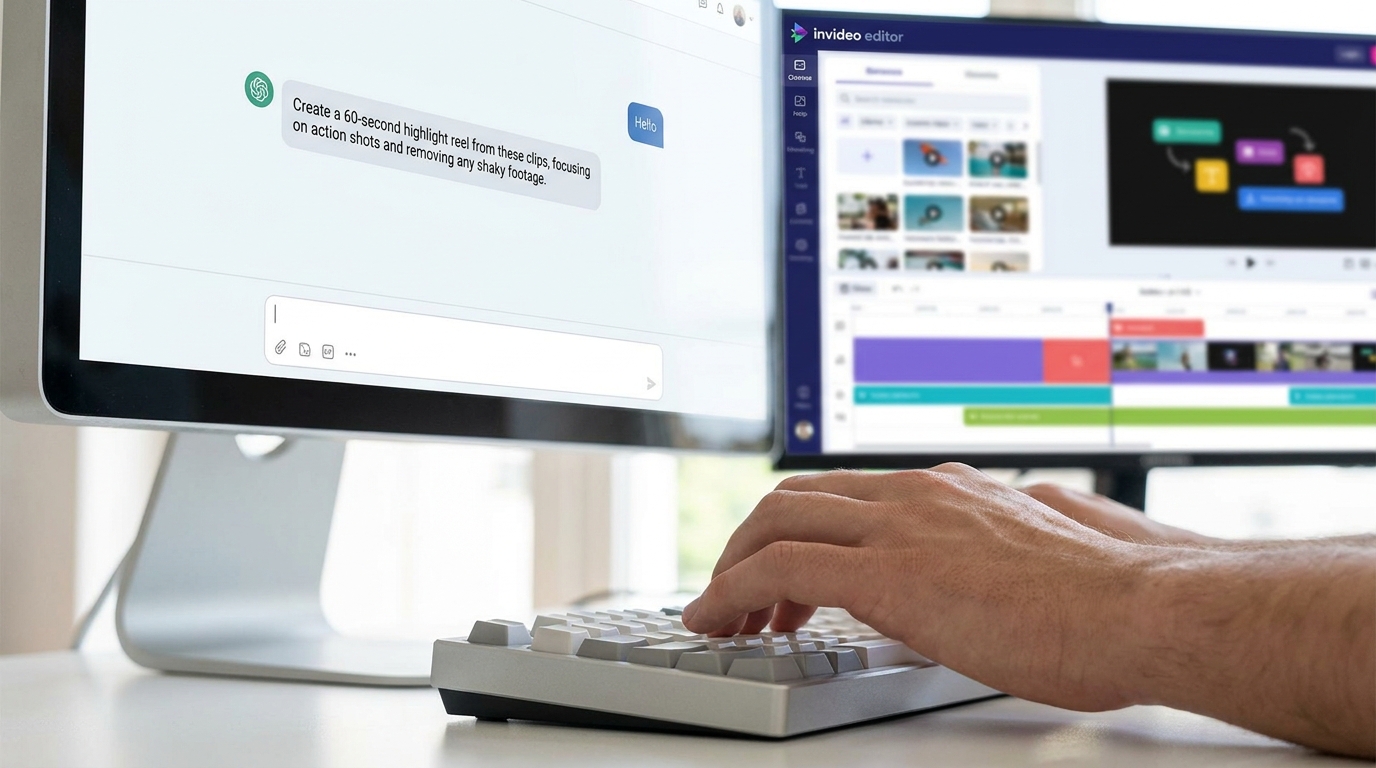
Chat your way to a perfect first cut.
Advertisement
Filling the Gaps: Missing Shots, Maps, and Sound 🪄
This is where invideo MCP truly shines beyond basic trimming. Your AI agent can do more than just arrange existing clips; it can create new content to enhance your video. Forgot to shoot an establishing shot? Need a custom motion graphic or a location map? Just ask!
You can even direct your agent to build the sound design for your entire film. Provide a few reference tracks to guide its style, and it will craft an audio landscape that matches your vision. Remember to use audio you own or are licensed to use; reference tracks are for inspiration, not direct copying. Also, label any generated establishing shots appropriately if they are not documentary footage.
Here are some prompt templates you can adapt:
- Lead: Generate a B-roll shot: Text: "Generate a 10-second B-roll shot of a bustling coffee shop interior, warm lighting, to transition between scene 1 and scene 2."
- Lead: Create a motion graphic: Text: "Create a lower-third motion graphic with the text 'Tech4SSD - AI Insights' in a modern, clean style."
- Lead: Build sound design: Text: "Build a sound design for the entire video. Use 'upbeat corporate music' as a reference for the background track, and add subtle ambient office sounds for the interview segments."
Grade, Reframe, and Cut for Every Platform 🎨
Once your story is solid, you can ask your AI agent to handle the finishing touches. This includes color grading, reframing for different aspect ratios, and even creating multiple versions optimized for various social media platforms. All this, simply by chatting.
Imagine saying, "Apply a cinematic, slightly desaturated color grade to the entire video," or "Create a 9:16 vertical version for TikTok and a 1:1 square version for Instagram, keeping the main subject centered." Your agent can handle these complex tasks, saving you hours of manual work. One chat can give you a perfectly graded master plus platform-specific versions, ready for export.
Export to Your Favorite Editor or as a Final Video 🚀
When you're happy with the results, you have options. You can ask for a finished, rendered video if you're ready to publish, or you can request an editable project file for Premiere Pro, Final Cut Pro, or DaVinci Resolve. This means you get all the benefits of AI-powered editing without being locked into a single platform.
The exported project will open with the timeline your AI agent built, preserving all the cuts, effects, and media. Nothing is locked in, giving you full control for final tweaks. Always export a short test first: check the rendered MP4 for picture, sound, captions, and frame size. For editable exports, open it in your target editor and verify for missing media, unsupported effects, and audio discrepancies. A successful export request doesn't always guarantee a perfect working download, so always double-check!
Complete step-by-step walkthrough
Original TECH4SSD tutorial and reference media
Tools
- invideo MCP (https://mcp-v2.invideo.io/mcp)
- Claude, ChatGPT, Claude Code, Codex, Cursor, VS Code or Gemini CLI
- Optional: Premiere Pro, Final Cut Pro or DaVinci Resolve for finishing
Before you begin
- An invideo account (you sign in during the connection, no API key needed)
- An MCP client that supports remote servers: Claude (web or desktop), ChatGPT, Claude Code, Codex, Cursor, VS Code or Gemini CLI
- For ChatGPT: access to custom MCP plugins under your account/workspace policy
- Some footage to edit (a brand shoot, talking-head clips or B-roll)
Watch the original Instagram tutorial
1. What invideo MCP actually is
MCP (Model Context Protocol) is the standard that lets AI assistants use outside tools. invideo MCP is a remote MCP server that gives your agent a real, professional video timeline to work on. Once it is connected, your agent can edit an NLE timeline, color correct footage, mix audio, import and manage media, and generate images, video and audio. You and the agent can work on the same project at the same time. When you are done, you export either a rendered video or an editable project for Premiere Pro, Final Cut Pro or DaVinci Resolve. invideo's own line for it sums it up: bring your own agent into the edit. Watch the Reel first to see it in action. The linked TECH4SSD Reel is the published demonstration. Its caption credits the footage to invideo's launch film; the site links to that Reel rather than redistributing the launch footage.
Tip: You do not need a new app. invideo MCP plugs into the assistant you already use.
Official invideo MCP setup and capabilities
2. Connect it to Claude (web or desktop)
In Claude, open Customize, then Connectors. Click the + button and choose Add custom connector. Fill in the name and server URL below, save, then sign in with your invideo account when Claude asks. After that, invideo appears in your connectors. Turn it on in any chat where you want to edit video.
Code
Name:       invideo
Server URL: https://mcp-v2.invideo.io/mcp- Custom connector added with the URL above
- Signed in with your invideo account
- invideo connector switched on in the chat
3. Connect it to ChatGPT
On ChatGPT web, open Plugins at chatgpt.com/plugins. Select the plus button, then Add custom MCP server. Name it invideo and enter the URL below using the remote HTTP connection option. Configure the authentication offered by the service, review the access warning, create the plugin, then install it from your personal plugins. Open a new chat and select the installed invideo plugin. Complete invideo sign-in when its tools request your account. If your account or workspace requires Developer mode, enable it in Settings → Security and login, or ask your workspace administrator for access. If the setup controls are absent, check your account's current eligibility rather than assume every paid plan exposes them.
Code
Name:       invideo
Server URL: https://mcp-v2.invideo.io/mcp
Warning: Use official OAuth sign-in. Do not put passwords, account tokens or API keys into the server URL or a prompt.
- Plugin created and installed
- invideo selected in a new chat
- Account sign-in completed when requested
- Tools respond before importing footage
Official OpenAI custom MCP setup
4. Connect it to Claude Code, Codex or Gemini CLI
Run only the command for your terminal client; you do not need to configure all three. Claude Code: add the server, restart the session, open /mcp and authenticate invideo. Codex: add the server, then run codex mcp login invideo if account authentication is needed. Complete the browser sign-in and start a new session to load the tools. Check /mcp for connection status. Gemini CLI: add the server, then run /mcp auth invideo when authentication is requested. These commands configure a remote service. Review requested account access before authorizing it.
Code
# Claude Code
claude mcp add --transport http --scope user invideo https://mcp-v2.invideo.io/mcp

# Codex
codex mcp add invideo --url https://mcp-v2.invideo.io/mcp
codex mcp login invideo

# Gemini CLI
gemini mcp add --transport http -s user invideo https://mcp-v2.invideo.io/mcp
Official Codex MCP and OAuth documentation
5. Connect it to Cursor or VS Code
Cursor: merge the invideo entry below into ~/.cursor/mcp.json. Keep any existing mcpServers entries; do not replace your whole configuration. Then complete invideo sign-in when requested. VS Code: run only the code --add-mcp command below in your terminal and complete the connection in your MCP tools panel. The combined example is labelled text because it contains a JSON configuration and a separate shell command, do not paste both into a JSON file.
Code
// Cursor: ~/.cursor/mcp.json
{
  "mcpServers": {
    "invideo": {
      "url": "https://mcp-v2.invideo.io/mcp"
    }
  }
}

# VS Code
code --add-mcp '{"name":"invideo","type":"http","url":"https://mcp-v2.invideo.io/mcp"}'
Tip: The remote server uses Streamable HTTP at https://mcp-v2.invideo.io/mcp. Client support and account permissions still need to be checked.
6. Make a base cut by chatting
Now just talk to your agent. Start with the footage: share a folder of clips (for example from Google Drive) and ask for a first cut. Be specific about length, format and what to remove. The agent builds the edit on a real invideo timeline you can open and adjust. Only share footage you are allowed to upload to invideo. Use a folder the service can actually access; a local path or inaccessible Drive URL is not an import. Ask the agent for the project link and verify the imported media and timeline before continuing.
Exact prompt
Here is all the footage from my brand shoot: [link to your folder]. Import every clip and make a 30-second base cut for a vertical 9:16 Reel. Pick the strongest shots, keep the pacing fast, and trim every pause and silence. Tell me which clips you used and why.- All clips imported to the timeline
- Base cut at the length and format you asked for
- Pauses and silences trimmed
7. Fill the gaps: missing shots, maps and sound
This is where it goes beyond trimming. If you forgot a shot, ask the agent to generate one that matches your footage. Need a location map or a motion graphic? Ask for it. Give it a few reference tracks and it builds the sound design for the whole film. Use these prompts as templates and swap in your own details. Use audio you own or are licensed to use. A reference track describes a direction; it does not grant permission to copy it. Label generated establishing shots where appropriate rather than present them as documentary footage.
Exact prompt
I forgot to shoot a drone establishing shot of the restaurant. Generate one that matches the warm golden-hour look of my footage and place it as the opening shot.

Create a map animation that shows all of our store locations across [your city], with a counter that goes up as each pin drops. Place it after the opening.

Here are three tracks that show the sound I want for this brand film: [attach references]. Build the sound design to match: music bed, crowd energy and food ASMR on every bite.
Warning: Generated shots and audio use invideo's generation features through your invideo account, so check what your plan includes before generating a lot.
8. Grade, reframe and cut down for every platform
Once the story works, ask for the finishing passes in plain language. One chat can give you a graded master plus versions for every platform.
Exact prompt
Color correct all the clips so they match, then apply a warm cinematic grade.

Reframe the edit for 9:16, 1:1, 4:5 and 16:9, keeping the main subject centered in every version.

Make three 15-second social cutdowns from this edit for Reels and TikTok, each with a different hook in the first two seconds.- Clips color matched and graded
- Reframed versions for each platform
- Short cutdowns with different hooks
9. Export to Premiere Pro, Final Cut Pro or DaVinci Resolve
When you are happy, choose how you want the result. Ask for a finished rendered video if you are ready to post, or an editable project if you want to finish it yourself in your usual editor. The project opens with the timeline the agent built, so nothing is locked in. Export a short test first. Open the rendered MP4 and check picture, sound, captions and frame size. For an editable export, open it in the target editor and check for missing media, unsupported effects and audio differences. A successful export request is not proof of a completed working download.
Exact prompt
Export this edit as an editable DaVinci Resolve project, and also give me a rendered 1080x1920 MP4 of the 9:16 version.Tip: Exporting an editable project is the best of both worlds: the agent does the heavy lifting, you keep full control of the final polish.
- Rendered test plays with the expected sound
- Editable project opens in the selected editor
- No missing media or unexpected export changes
💡 Pro Tip: For complex edits, break down your requests into smaller, sequential steps. This helps your AI agent understand and execute tasks more accurately.
Key Takeaways
- invideo MCP allows AI agents (ChatGPT, Claude, etc.) to directly edit real video timelines.
- It supports comprehensive video tasks: trimming, effects, audio mixing, and generating new media.
- Setup involves adding invideo MCP as a custom connector/server in your AI agent's platform.
- You can create base cuts, fill content gaps, and apply finishing touches using natural language prompts.
- Export options include rendered videos or editable project files for professional NLEs.
Related on Tech4SSD 🔗
- Evaluating AI Agents for Enterprise Workflows (2026)
- Automating Small Business Admin with ChatGPT Work and Workspace Agents (2026)
- OpenAI Dots: How to Use Proactive AI Agents for Complex Project Management (2026)
📩 Want the freshest AI trends every week?
Subscribe to Tech4SSD — practical AI tools and trends, explained for everyone. Free. Subscribe →
Advertisement
Frequently Asked Questions
What AI agents can I use with invideo MCP?
You can connect invideo MCP with popular AI agents and development environments like Claude, ChatGPT, Claude Code, Codex, Cursor, VS Code, and Gemini CLI.
Do I need a special invideo account for MCP?
Yes, you'll need an invideo account to sign in and authorize the connection between your AI agent and invideo's editing tools. Check invideo's website for specific plan requirements.
Can I edit videos with my own footage using invideo MCP?
Absolutely! You can provide your AI agent with links to folders containing your own video clips (e.g., from Google Drive), and it will import and edit them within invideo.
What if my AI agent isn't showing invideo's tools?
First, double-check your connection setup and ensure the invideo plugin/connector is enabled in your AI agent's chat session. For ChatGPT, ensure Developer mode is active if required. Refer to invideo's help center for specific troubleshooting steps for your platform.
Final Word
invideo MCP isn't just another AI gimmick; it's a powerful shift in how we approach video creation. By bridging the gap between natural language commands and complex video editing software, it empowers creators, students, and small business owners to produce high-quality video content with unprecedented ease. You no longer need to be a seasoned editor to bring your visual stories to life; your AI assistant can now handle the heavy lifting, freeing you up to focus on your creative vision.
This technology truly democratizes video production, making advanced editing accessible to anyone who can chat with an AI. So go ahead, connect your agent, unleash your creativity, and start making amazing videos today. The future of video editing is here, and it's conversational! 🚀
Sources & Further Reading
- How do I connect my own AI agent to invideo Editor?
- Which platforms support invideo MCP? | Help Center
- invideo MCP: Video Editing and Generation for AI Agents | invideo
- invideo for agents
- How do I connect invideo MCP to ChatGPT? | Help Center
- Why aren’t invideo’s tools appearing in my AI agent? | Help Center
- invideo MCP server: video editing for AI agents
- What is invideo MCP? | Help Center
- Invideo Model Context Protocol Server | Help Center
- How to Edit Videos with ChatGPT: From First Cut to Export
- Unlocking Video Creation Potential: Harnessing InVideo's AI Technology - ChatGPT - OpenAI Developer Community
- Invideo AI enables anyone with an idea to produce high-quality videos | OpenAI
- I Edited This Video 100% With Codex - Community - OpenAI Developer Community
- Docs MCP | OpenAI Developers
- Model Context Protocol | ChatGPT Learn
- Codex CLI | ChatGPT Learn
- Customization | ChatGPT Learn
- Developer settings | ChatGPT Learn
AI tools and features change fast — verify current options before relying on them. — Tech4SSD Editorial
Discussion
Have a question or something to add?
Join the discussion on Blogger